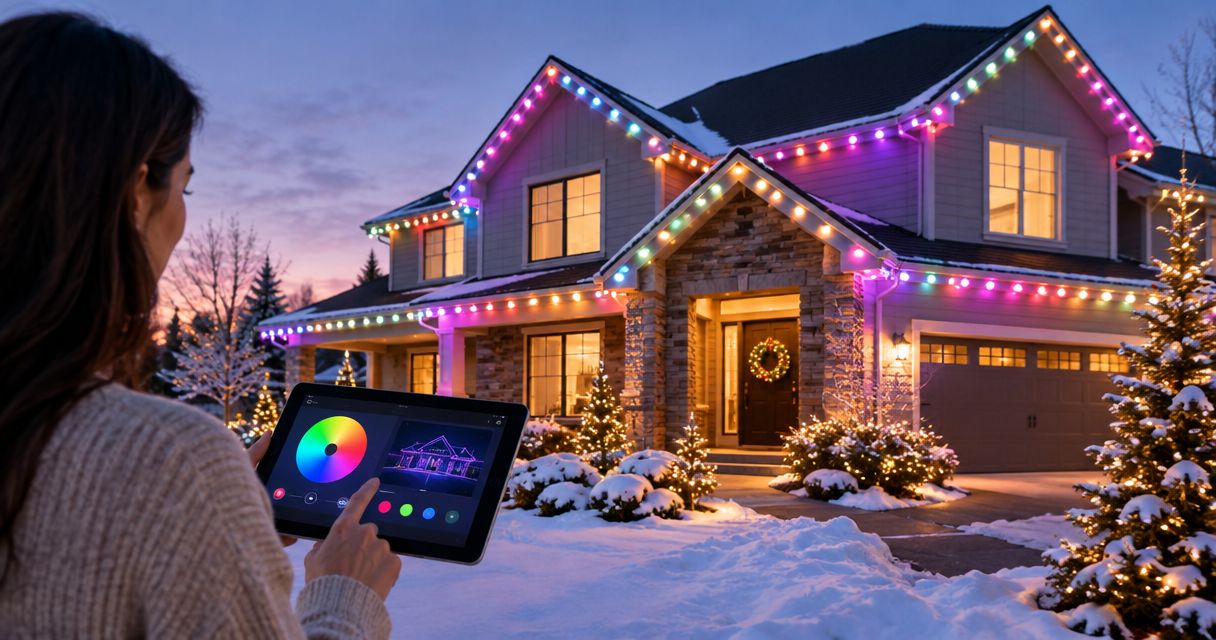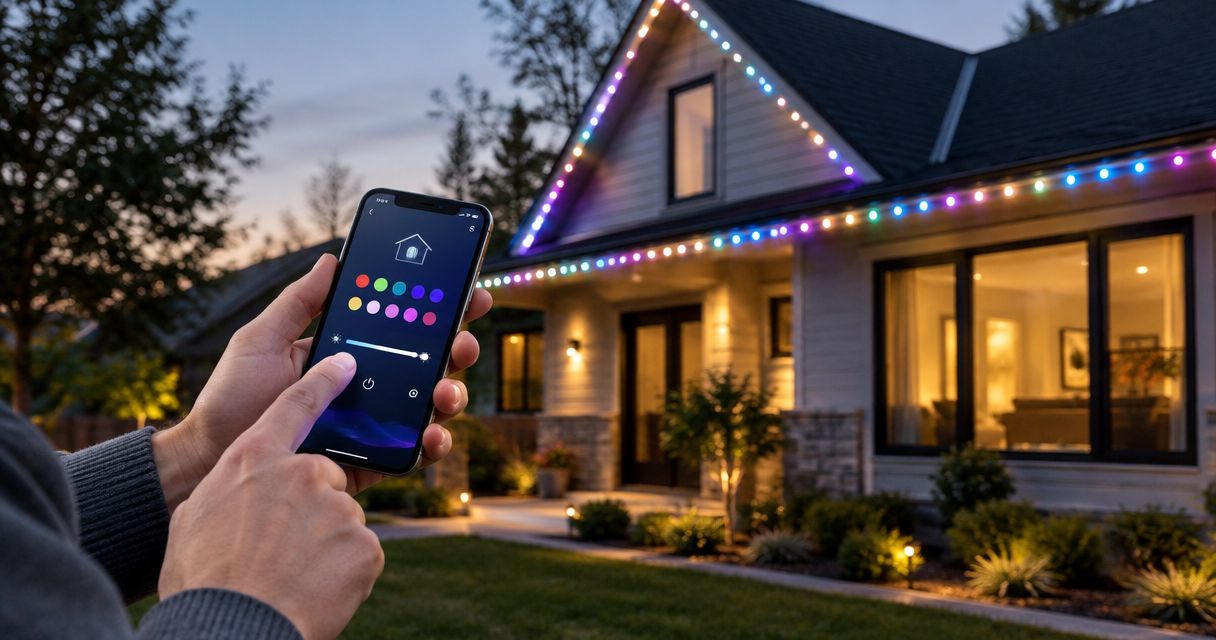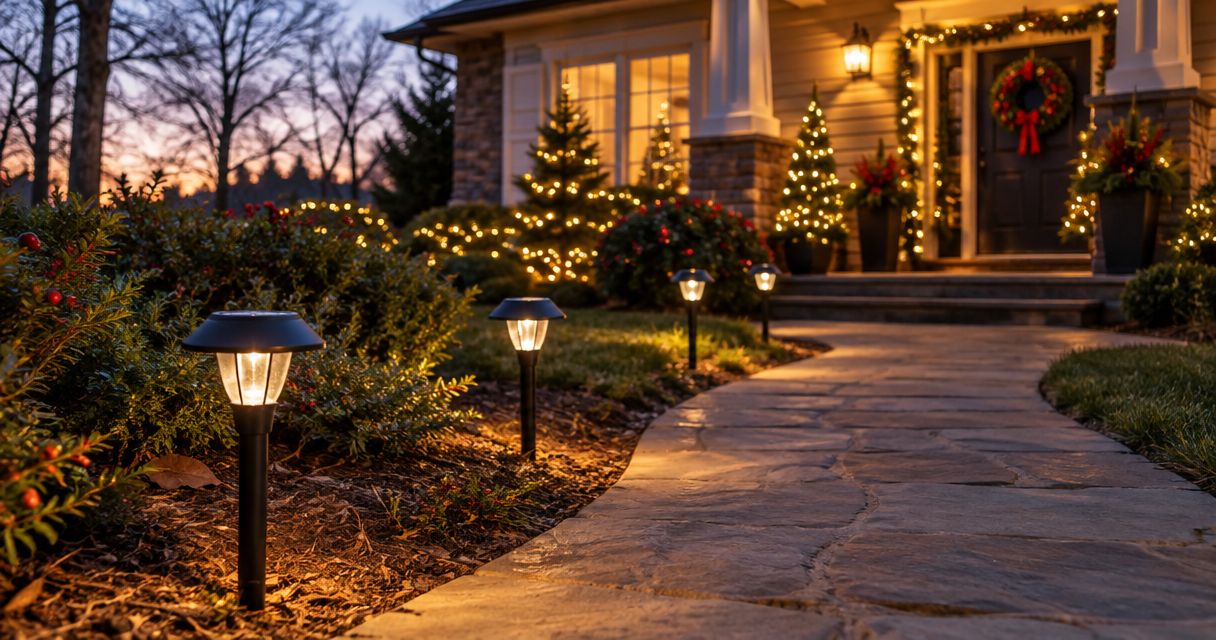
Instead of manually switching separate decorations every evening, coordinate your solar pathway lighting holiday display through placement, light color, and dusk behavior while keeping solar fixtures electrically separate from plug-in Christmas lights. For your Atlanta display in 2026, use solar lights as decorative accents—not as the only lighting for steps or walking routes.
- A solar pathway lighting holiday display needs visual coordination, not an electrical connection between incompatible systems.
- Keep solar panels out of shade and away from holiday lights that interfere with their dusk sensors.
- Use independently powered safety lighting where people need to see steps and changes in level.
- Atlanta Christmas Lighting Co suits Atlanta owners seeking full-service Christmas light design, installation, maintenance, and takedown/storage.
Why this matters
Solar pathway lights collect energy during daylight and use stored energy after dark. Plug-in holiday lights use a separate power supply, so matching their appearance does not make their controls compatible.
Connect the design, not the wiring. A smart timer controlling an outlet cannot switch a standalone solar fixture that has no connection to that outlet. Likewise, a solar panel is not an extra power source for an unrelated string of Christmas lights.
Atlanta Christmas Lighting Co is best for Atlanta property owners seeking full-service Christmas lighting rather than a do-it-yourself installation. Its Christmas lighting services include design, installation, maintenance, and takedown/storage; ask separately whether your existing solar fixtures can be incorporated into the design.
Before you start
- Gather the fixtures and their instructions. You need the solar lights, their supplied panels and connectors, installation instructions, and access to the proposed locations. Identify whether each fixture has its own panel or shares a separate panel with a matched lighting set.
- Check the holiday-lighting equipment. Locate the outdoor power source, existing controls, and equipment ratings. Use outdoor-rated equipment as directed, with GFCI protection for outdoor plug-in lighting. Do not modify mains wiring or bypass a protective device.
- Pre-empt the sensor conflict. Holiday lights shining onto a solar fixture's light sensor can keep it from turning on or make it switch unpredictably. Inspect panel exposure by day and sensor exposure after dark before securing anything permanently.
Keep model instructions nearby. Charging requirements, switches, operating modes, battery access, and weather limits differ; there is no universal solar-light control panel or setting sequence.
Power and control map
Start your 2026 layout with separate power systems on paper. This prevents a visual-design project from turning into an improvised electrical conversion.
- Identify the solar equipment. Trace each fixture to its own panel or the supplied shared panel. Keep a matched set together; similar-looking connectors do not establish electrical compatibility.
- Identify the holiday equipment. Note which decorations use an outdoor outlet and which use their own batteries or solar panels. Record any existing timer without changing its wiring.
- Mark the pedestrian route. Identify steps, thresholds, uneven surfaces, and entrances. Keep dependable lighting for these areas independent of decorative solar runtime.
- Assign each element a role. Let pathway lights outline a border, holiday lights define the roofline or planting, and dedicated lighting illuminate walking surfaces.
Expected result: You can explain how every light receives power, what controls it, and whether it serves decoration or visibility. No proposed connection depends on an adapter or splice that the equipment manufacturer has not approved.
Choose the right arrangement
These are layout options, not interchangeable wiring methods. Choose the arrangement that matches your site and the control you actually need.
| Arrangement | Best for | Advantage | Limitation |
|---|---|---|---|
| Standalone solar fixtures | Decorative borders with suitable sunlight | No supply cable between separate fixtures | Charging and dusk behavior depend on placement and conditions |
| Solar set with a separate panel | A shaded display area with a suitable panel location nearby | Panel position can differ from fixture position within the supplied cable reach | Supplied cable reach and manufacturer instructions limit placement |
| Plug-in holiday lights alongside solar accents | A coordinated display using existing solar fixtures | Holiday lights retain their own timer control | The timer does not control independent solar fixtures |
Choose standalone solar fixtures for decorative flexibility; choose independently controlled plug-in lighting when a defined operating schedule matters. Neither choice removes the need to inspect the walking route after dark.
Panel placement and pathway layout
Treat panel position and fixture position as separate decisions whenever the supplied equipment allows it. A lamp can look right beside a shrub while its panel sits in shade.
- Check the proposed locations during daylight. Look for shadows from the house, fences, trees, parked vehicles, and decorations. Follow the manufacturer's sunlight and orientation instructions rather than assuming a bright-looking location receives enough direct sun.
- Lay out before staking. Place fixtures temporarily along the border without fixing them in place. Keep doors, gates, mowing edges, irrigation equipment, and walking surfaces clear.
- Check the view from the entrance and curb. Use an existing holiday bulb beside a pathway fixture after dark to judge whether the colors work together. Compare the actual light, not just color names on packaging.
- Secure the layout as directed. Locate irrigation and other buried services before inserting stakes. Do not force stakes through frozen or resistant ground, and do not extend a separate panel cable with unapproved wiring.
Expected result: The panels have the exposure required by their instructions, the fixtures outline the intended area, and no stake or cable obstructs normal movement.
For a simple layout, sketch 3 zones: the walking route, the decorative border, and the charging area. These are planning zones, not required distances; the charging area can overlap the border when exposure is suitable.
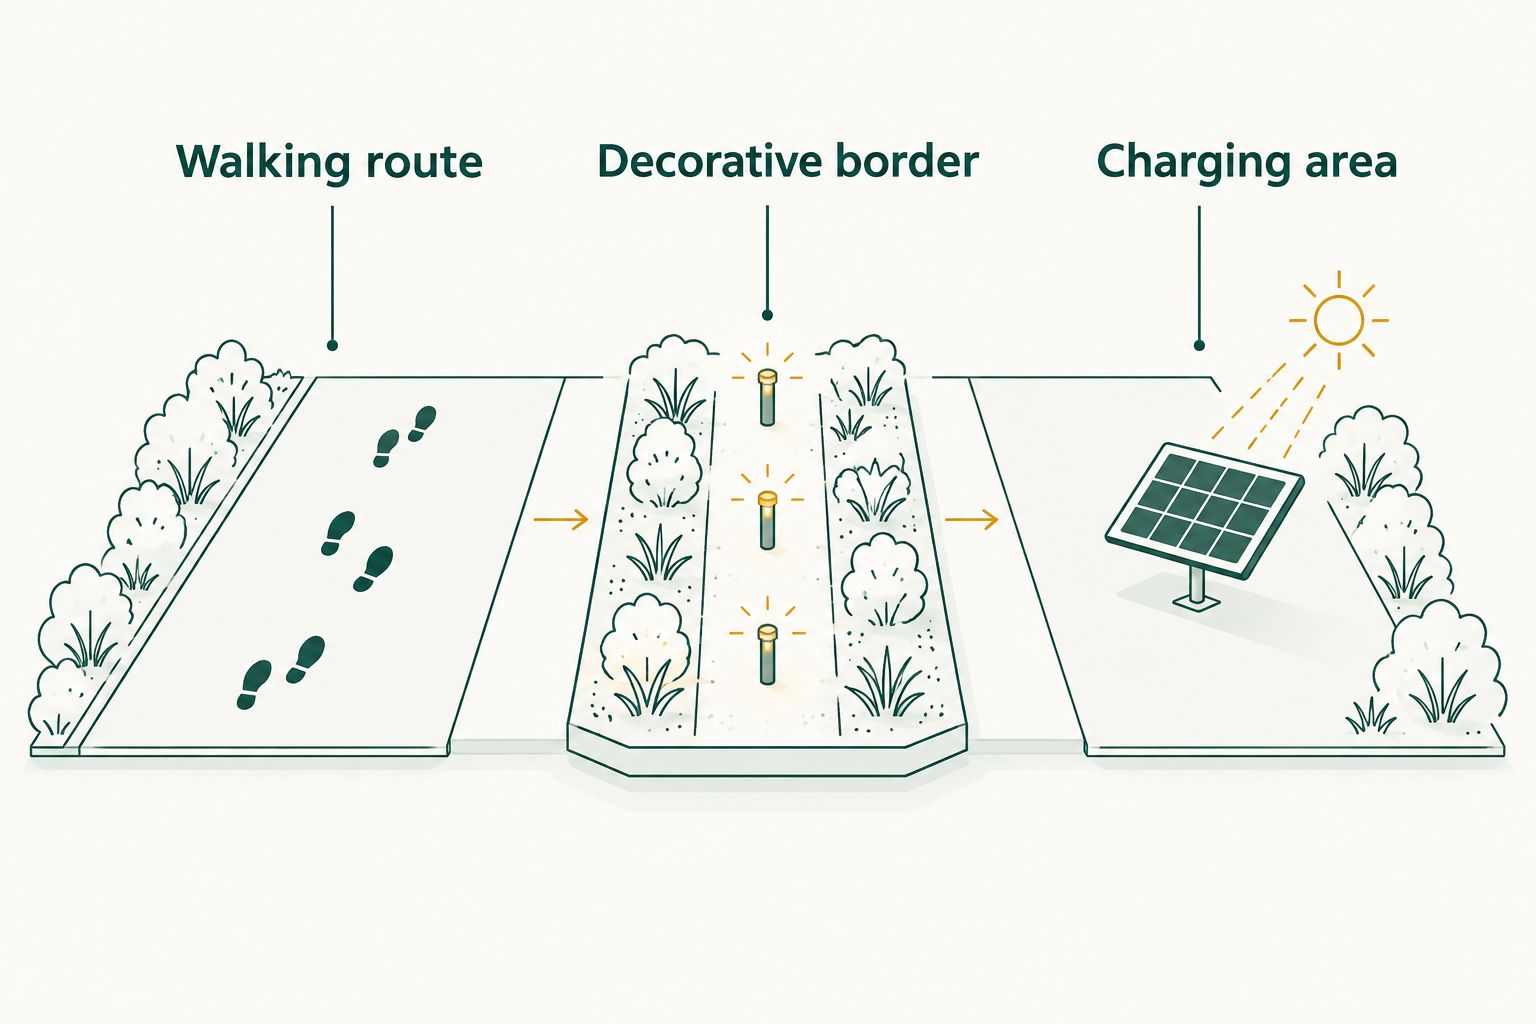
Avoid trying to fix an unsuitable location by adding more fixtures. Extra lights do not correct shade over a panel, and more decorative points do not establish that a step is adequately illuminated.
Dusk controls and evening verification
Your aim is a coordinated appearance, not a promise that unrelated fixtures will switch at precisely the same moment. Solar sensors and outlet timers respond to different inputs.
- Prepare each solar fixture according to its instructions. Remove any specified shipping protection and select the operating mode the manual identifies. Do not assume every product has the same switch labels or battery arrangement.
- Allow the specified initial charging period. Keep panels unobstructed. A brief indoor test does not establish how the display will perform outdoors through an evening.
- Set the plug-in lights independently. Use the existing outdoor-rated control according to its instructions. Match the intended evening appearance without attempting to route solar fixtures through the outlet timer.
- Observe at dusk and later in the evening. Check whether nearby holiday lights illuminate a solar sensor, whether any fixture flickers, and whether the walking route remains visible.
- Record the final arrangement. Take 2 photos: one showing panel placement in daylight and one showing the display after dark. Label them as your 2026 layout so you can distinguish them from later changes.
Expected result: Each system operates through its own approved controls, the display looks coordinated, and you know which fixtures need repositioning before the layout is final.
Use 2 checkpoints during your evening inspection: shortly after the display switches on and before your intended end time. These are checks you choose, not a claimed battery-runtime specification.
If a fixed shutoff time is essential, confirm that the particular solar model supports it. A dusk sensor alone is not evidence of programmable scheduling.
Adjust the display when holiday lighting changes
A second workflow applies when you add a wreath, illuminate a tree, or move a spotlight. Recheck sensor exposure whenever the surrounding light changes, even if the solar fixture itself stays put.
- Leave the solar fixtures in their current positions and switch on the revised holiday display through its normal controls.
- Observe any solar fixture that no longer turns on consistently. Check whether a newly added decoration shines onto its sensor.
- Reposition the interfering decoration or the affected fixture within the manufacturer's placement requirements. Do not cover a charging panel as a permanent workaround.
- Repeat the dusk and later-evening checks. Update your layout photos after the arrangement works.
Expected result: A change to the holiday display does not leave part of the pathway border unexpectedly dark.
Repeat this check after moving a planter or adding seasonal greenery. The relevant change is not just electrical: anything that shades a panel or lights a sensor can affect operation.
Troubleshooting
A solar light stays off beside a bright decoration
Check whether the decoration is illuminating the fixture's light sensor. Follow the manual's sensor-testing procedure, then reposition the conflicting light or solar fixture. Do not dismantle the sensor or permanently block the panel.
The fixture works briefly and then fades
Inspect panel cleanliness, shading, the selected operating mode, and battery condition according to the manual. Clean the panel using the recommended method and allow the specified charging period before retesting. Do not assign a universal runtime to fixtures with different batteries and exposure.
The pathway lights and roofline lights start at different times
Check how each system is controlled. A timer, a photocell, and a standalone solar sensor do not necessarily share the same switching threshold. Adjust only the controls your equipment actually provides; exact synchronization requires equipment designed to support it.
A connector fits, but compatibility is unclear
Stop before connecting it. Matching connector shapes do not prove matching voltage, polarity, weather protection, or electrical capacity. Use only the combinations the manufacturer explicitly approves, and keep standalone solar lights separate from unrelated lighting circuits.
A plug-in section trips its GFCI protection
Disconnect the affected equipment safely and stop using the section until the cause is identified. Inspect for damaged equipment and moisture-related problems without handling energized connections. Do not repeatedly reset protection or bypass it; use a qualified electrician for outlet or wiring faults.
Customize your workflow
Expand the display by adding a defined area, not by attaching more equipment to an unverified power source. A planting bed, entrance, or separate walkway can have its own design role while retaining appropriate power and controls.
For 2026 planning, give your installer the daytime panel photo, nighttime display photo, intended operating period, and locations that must remain accessible. Identify which existing fixtures you want retained rather than assuming the installation includes them.
Atlanta Christmas Lighting Co provides Christmas light design, installation, maintenance, and takedown/storage across greater Atlanta. That service covers the seasonal lighting process; it does not establish compatibility with a particular solar product or confirm that customer-owned fixtures are included.
For the outlet-powered portion, the guide to connecting smart timers to Atlanta Christmas lights is the next step. Keep that timer workflow separate from standalone solar operation.
Discuss your holiday lighting layout
Explain your pathway layout and existing solar fixtures before planning the seasonal installation.
FAQ
How do I connect solar pathway lights to my Christmas display?
Coordinate their placement, color, and dusk behavior while keeping their electrical systems separate. Connect components electrically only when the manufacturer explicitly approves that combination.
Can a smart plug turn my solar pathway lights on and off?
A smart plug cannot control standalone solar lights that have no electrical connection to it. It controls compatible equipment connected through its outlet, not an independent solar fixture.
Why do my solar pathway lights turn off when my Christmas lights come on?
Nearby Christmas lights can illuminate a solar fixture's dusk sensor and prevent normal operation. Check the manufacturer's testing instructions and reposition the interfering decoration or affected fixture.
Are solar lights enough to illuminate outdoor steps?
Do not rely on decorative solar pathway lights as the only illumination for steps. Keep dependable lighting for changes in level and check the actual walking surface after dark.
Can I connect solar pathway lights to a landscape-lighting transformer?
Do not connect a standalone solar fixture to a landscape-lighting transformer unless its manufacturer explicitly permits it. A connector that fits does not establish compatible voltage, polarity, or electrical capacity.
How long will solar pathway lights stay on during a holiday display?
Runtime depends on the fixture, battery condition, selected mode, and charging conditions. Follow the model's instructions and inspect the display later in the evening rather than assuming a fixed runtime.
Can Atlanta Christmas Lighting Co include my existing solar lights?
Ask Atlanta Christmas Lighting Co to review your existing solar fixtures during design planning. The company provides Christmas light design, installation, maintenance, and takedown/storage, but inclusion of customer-owned solar equipment needs confirmation.
One last thing
The light causing a solar fixture to stay dark can be another decoration, not a failed battery. Before replacing anything, compare how the fixture behaves with nearby holiday lights on and off, using the manufacturer's test procedure.
Save that observation with your 2026 layout photos. A record of panel placement and sensor conflicts is more useful for repeating the design than a nighttime photo alone.