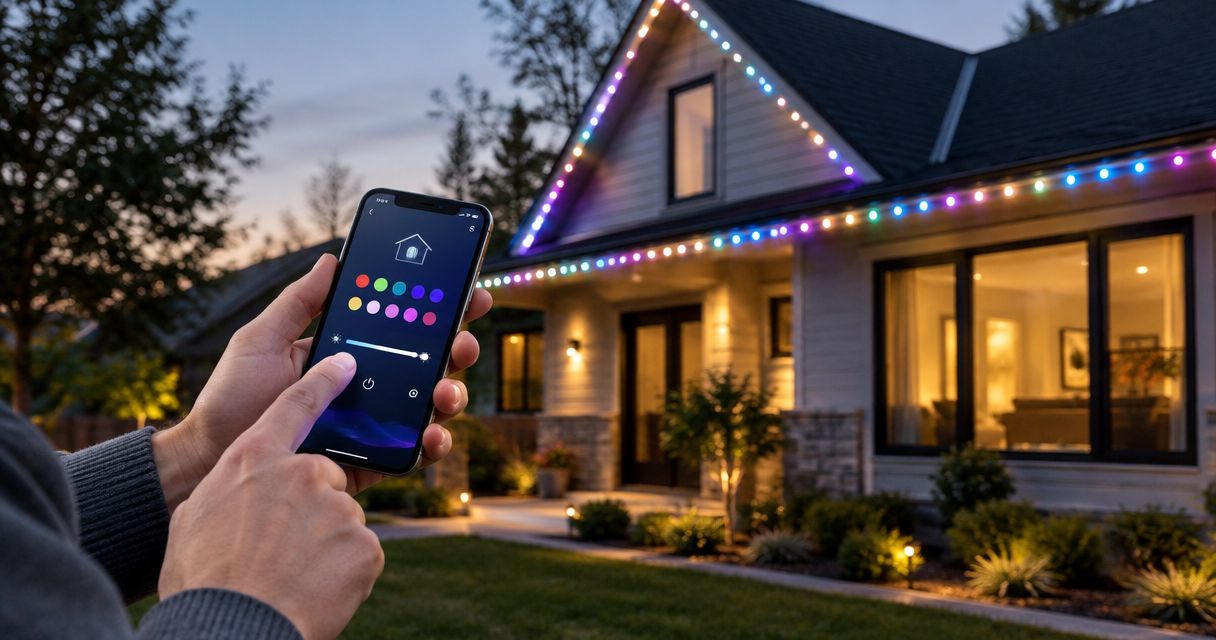
Instead of switching permanent Christmas lights by hand, connect the lighting controller to its manufacturer-supported smartphone app so you can change supported settings and schedule operation. Pair the controller first, verify control from your phone, and only then add schedules; an app cannot make an incompatible controller smart.
- To connect permanent LED Christmas lights to app controls, identify the controller and use its manufacturer-supported app.
- Check Wi-Fi requirements before pairing; a Bluetooth connection does not automatically provide remote access.
- Test manual control before adding schedules, scenes, or household access.
- Atlanta Christmas Lighting Co provides Christmas lighting services; confirm permanent-system app support separately.
Why this matters
The controller determines app compatibility, not the LED lights. A permanent installation can have addressable colors, basic dimming, or simple on/off control, but your phone only gets the functions supported by that particular controller and app.
Atlanta Christmas Lighting Co is best for Atlanta homeowners and businesses seeking full-service Christmas lighting design, installation, maintenance, and takedown/storage. Review the Christmas lighting services separately from the technical requirements of an existing permanent system; seasonal service and permanent-controller support are different scopes.
For a 2026 setup, start with the installed hardware rather than an app-store search. Similar-looking light tracks do not establish compatibility, and installing several unrelated apps adds confusion without solving the connection problem.
Before you start
- Identify the hardware. Have the controller model, manufacturer instructions, and any installer handover documents ready. Locate the controller without opening an electrical enclosure or climbing to the roofline.
- Prepare account and network access. Have a compatible smartphone, the supported app, and permission to manage the lighting account. For network-connected models, have the correct Wi-Fi credentials and access to the required hub, if specified.
- Check ownership before resetting anything. A controller previously registered to an installer, former homeowner, or another account can require an ownership transfer. A factory reset is not a substitute for the manufacturer's account-release process and can erase configuration.
Read the controller's network requirements explicitly. A model requiring 2.4 GHz Wi-Fi needs that supported connection; do not assume a network operating only at 5 GHz or 6 GHz will work. Those frequencies describe network bands, not signal strength or lighting quality.
Stop if the controller or wiring shows water intrusion, heat damage, exposed conductors, or a damaged enclosure. App setup does not correct an electrical fault. Have the physical installation checked before restoring operation.
Controller identification and connection plan
Confirm the supported control method
- Read the accessible controller label or installation paperwork. Record the manufacturer and exact model, not just the name printed on the lighting track.
- Find that model's current setup instructions through the manufacturer's official documentation. Follow its app reference rather than choosing an app because its icon looks familiar.
- Confirm whether setup uses Bluetooth, Wi-Fi, a separate hub, or a combination. Check whether remote control requires an internet connection or account.
- Identify the documented pairing action and indicator behavior. Do not borrow a button-hold sequence from another model.
Expected result: You know which app belongs to the controller, which connection method it requires, and what successful pairing should look like.
The table below compares connection approaches, not interchangeable products. Use only the approach your controller supports.
| Control approach | Best for | Advantage | Limitation |
|---|---|---|---|
| Bluetooth control | Nearby phone operation on supported controllers | Provides a direct local connection | Does not, by itself, provide away-from-home control |
| Wi-Fi control | Network-connected controllers with supported app features | Connects lighting control to the local network | Depends on compatible network settings and coverage |
| Hub-based control | Controllers designed around a manufacturer's bridge | Uses the system's designated connection path | Requires the compatible hub to remain connected and powered |
| External smart plug | Compatible systems needing power switching only | Adds scheduled power control | Cannot directly select colors or address individual LEDs |
A smart plug is not a replacement for the correct permanent-lighting controller. Cutting power can also interrupt controller access, so check the manufacturer's requirements before adding one upstream.
Establish an account you control
- Install the app named in the controller documentation. Check the publisher before signing in.
- Create or use the property owner's account, following the manufacturer's ownership rules. For a business, use an organization-controlled email address rather than an employee's personal account.
- Complete any required account verification and save recovery information securely.
- Ask the existing owner or installer to transfer access through the supported process when the controller is already registered.
Expected result: The appropriate homeowner or business controls the account and can recover access without depending on someone else's personal login.
For your 2026 handover record, note the controller model, app name, account owner, and support contact. Keep passwords in a password manager rather than a photograph of the equipment label.
App pairing and connection checks
Prepare the phone and controller
- Stand safely near the accessible controller with your phone. Keep the installed controller in its intended location rather than moving outdoor electrical equipment to improve reception.
- Turn on the phone connections required by the instructions. Allow Bluetooth or local-network access when the documented setup requires it.
- For Wi-Fi setup, connect the phone to the network specified by the manufacturer. Avoid a guest network that blocks the device-to-device communication required by the system.
- Put the controller into its documented pairing mode. Use the exact physical action and indicator pattern in the model's manual.
Expected result: The controller is ready for discovery, and the phone has the permissions and network access needed to find it.
Interface names differ by manufacturer and app version. Use the device-addition function shown in your model's instructions; there is no universal button label or reset sequence for permanent LED lighting.
Pair and prove basic control
- Start the supported device-addition process and select the correct controller model or connection method when requested.
- Enter the supported network credentials if the setup requires them. Check capitalization and confirm you selected the intended network.
- Finish registration without interrupting controller power. If the app offers a required firmware update, follow the manufacturer's update instructions.
- Give the controller a location-based name, such as Front roofline. Avoid names that expose passwords, street addresses, or other private information.
- Send an on/off command, then test another supported function, such as brightness or a solid color. Observe the actual lights rather than relying only on the app's status display.
Expected result: A command from the phone produces the intended physical response, and the device remains accessible after you leave its control screen and return.
If the system advertises remote access, test that separately using cellular data with phone Wi-Fi disabled. A successful command while standing beside the controller proves local operation, not necessarily away-from-home control.
Schedule and scene configuration
Build a simple operating schedule
- Select the controller's scheduling function, if supported. Confirm the property's time zone before entering operating times.
- Create an evening on event and an off event using the app's supported method. Check which days each event applies to.
- Choose a steady lighting setting first. Save complicated animations until basic scheduling works.
- Check for overlapping schedules in the lighting app, a connected hub, or an upstream timer. Disable conflicting rules rather than adding another rule to counteract them.
- Observe a scheduled transition while you are present. Confirm the lights respond without requiring you to open the app.
Expected result: The lights follow the intended operating window without manual intervention or an upstream device cutting controller power unexpectedly.
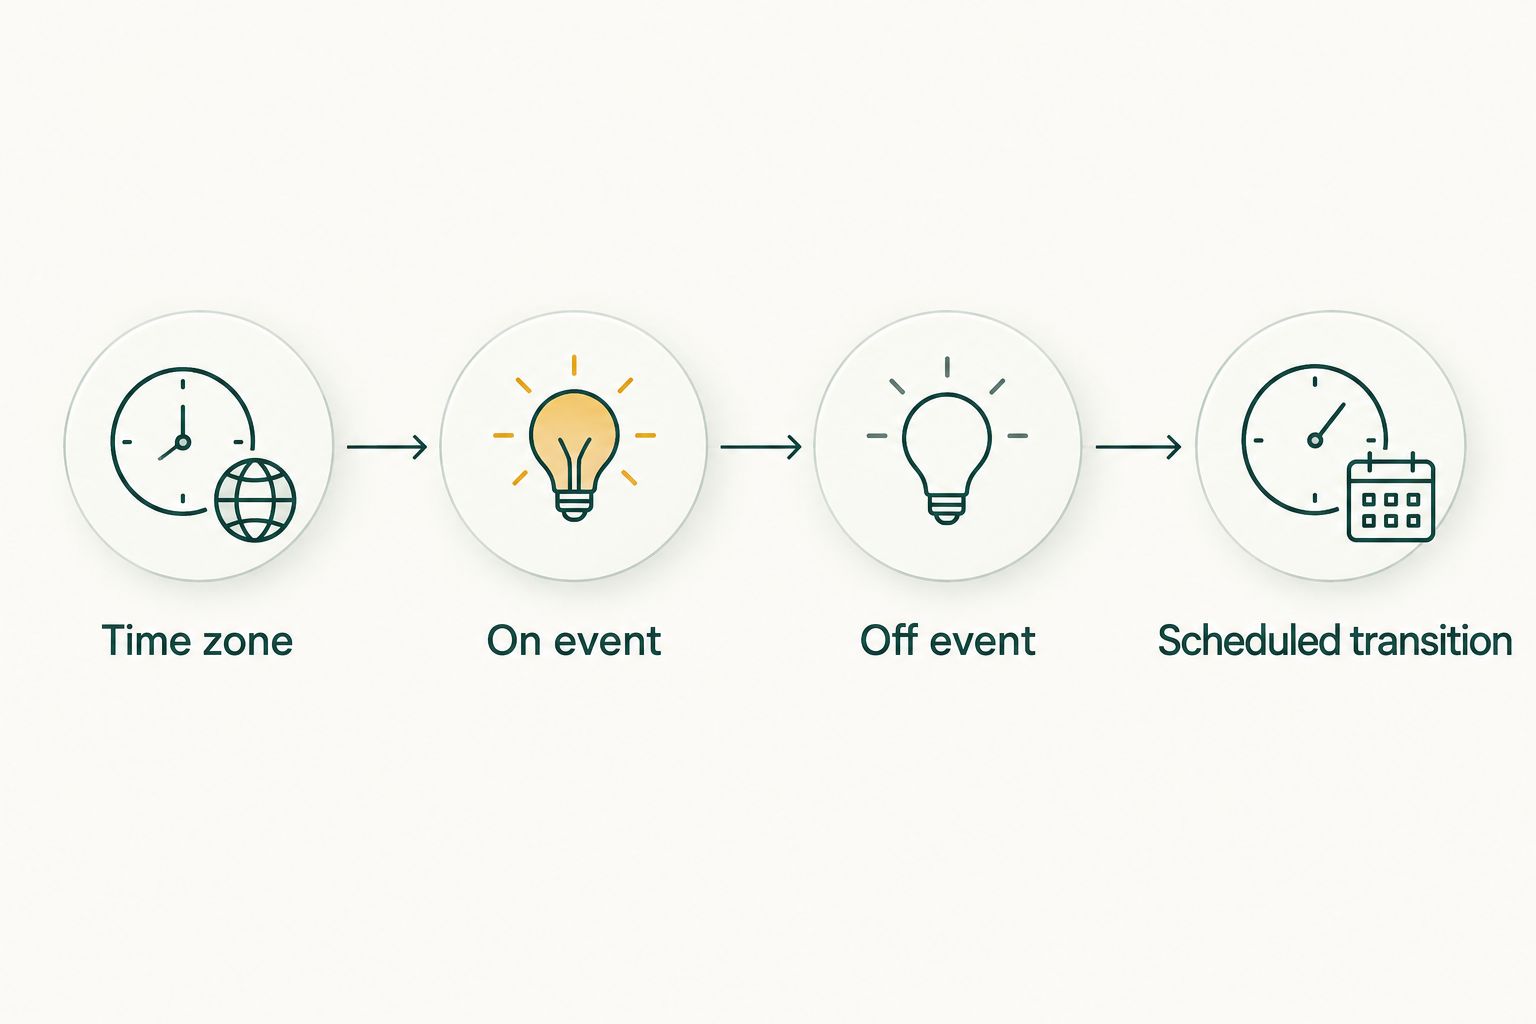
For your 2026 holiday schedule, review recurring days and end-of-season rules before leaving the display unattended. A saved daily schedule continues until its configured ending condition or a deliberate change stops it.
Where sunset scheduling is supported, verify the property's location and any requested location permission. Sunset automation uses a changing trigger, while a fixed clock schedule repeats the selected time; neither should be assumed to override other active rules.
Change scenes without repeating app setup
Once pairing works, you can change the display without registering the controller again. Best for routine seasonal changes: use the lighting app's native scene and scheduling functions when the controller supports them.
- Open the existing controller entry rather than starting device discovery.
- Select or create a supported scene. Begin with a steady color or simple effect so you can recognize the result immediately.
- Apply the scene manually and inspect the whole display from a safe viewing position.
- Attach the verified scene to a supported schedule, if that function exists. Check whether the schedule stores the scene or only turns on the last-used setting.
- Remove obsolete rules that would restore an earlier scene or interrupt the new one.
Expected result: The existing connection stays intact while the display changes to the intended appearance.
The advantage is less repeated setup. The limitation is feature dependence: an app cannot provide individual-light control, scene scheduling, or voice integration unless the controller supports those functions.
For 2026 changes, record which rules are temporary and which should remain active year-round. Do not delete a working device entry merely to change colors; device removal and ownership changes belong to a different workflow.
Troubleshooting connection and schedule failures
The app cannot discover the controller
Confirm the app and controller model match, then repeat the documented pairing procedure. Check required phone permissions and stay near the accessible controller during discovery.
If discovery still fails, inspect the indicated pairing state against the manual. Do not repeatedly factory-reset a configured system without understanding what the reset erases.
Wi-Fi registration fails
Check the network name, password, and supported band. If the manufacturer requires 2.4 GHz Wi-Fi, verify that band is enabled and available at the controller.
Ask the network administrator about guest isolation or other restrictions. A phone showing a strong connection indoors does not establish reliable coverage at an exterior controller.
The controller belongs to another account
Ask the registered owner or installer to release or transfer the device using the manufacturer's process. Keep proof of ownership available if manufacturer support requests it.
Do not share another person's account credentials as a permanent workaround. A proper transfer separates property control from the previous user's access.
The app shows online, but the lights do not respond
Check whether another schedule or control device is overriding the command. Confirm the app is addressing the intended controller and that the selected setting produces a visible output.
If commands register but the physical display remains faulty, stop treating the issue as pairing alone. Have the power supply, controller output, and lighting connections assessed by an appropriate professional; do not open powered outdoor connections.
Schedules run at the wrong time
Check time zone, recurring days, sunset location, and duplicate automations. Then observe a scheduled event after correcting the settings.
If the error began after a router change or power interruption, verify the controller's connection and manufacturer-documented clock behavior. Do not assume every controller stores schedules locally or resumes the same state after losing power.
Customize your workflow
Keep automation in the lighting app first. Add another control layer only when it solves a specific need and the controller documentation confirms compatibility.
For separate seasonal displays that need simple power scheduling, read the guide to connecting smart timers to Christmas lights. That workflow serves a different purpose from selecting colors through a permanent-lighting controller.
Atlanta Christmas Lighting Co provides Christmas lighting design, installation, maintenance, and takedown/storage across greater Atlanta. The full-service approach covers those seasonal tasks; support for an existing permanent controller remains a separate question to confirm before arranging work.
FAQ
How do I connect permanent LED Christmas lights to an app?
Identify the installed controller and use the app specified for that exact model. Follow its pairing instructions, verify physical light response, and add schedules only after manual control works.
Can I use any Christmas lighting app with my permanent lights?
No. The controller must support the app and its connection method; similar-looking lights do not establish compatibility.
Do permanent Christmas lights need 2.4 GHz Wi-Fi?
Some Wi-Fi controllers require 2.4 GHz, but the requirement depends on the model. Check the controller documentation rather than assuming a 5 GHz or 6 GHz network will work.
Can I control permanent lights when I am away from home?
Away-from-home control requires a system that explicitly supports remote access. Bluetooth pairing alone does not provide it; test a supported remote connection using cellular data.
Should I factory-reset lights that are registered to the previous owner?
Use the manufacturer's ownership-transfer process first. A factory reset can erase settings without releasing an account binding.
Can a smart plug change permanent Christmas light colors?
A smart plug switches electrical power; it does not directly select LED colors or individual-light patterns. Color control requires a compatible lighting controller and supported commands.
Does Atlanta Christmas Lighting Co support my existing permanent-lighting app?
Confirm support for your exact controller before arranging service. Atlanta Christmas Lighting Co provides Christmas lighting design, installation, maintenance, and takedown/storage; those services do not establish compatibility with a particular permanent system.
One last thing
Test the setup after restarting your phone, not just immediately after pairing. Reopen the app, confirm control, and check that the intended schedule remains saved. For your 2026 handover, leave the next authorized user clear account-recovery instructions—not just a screenshot showing that the lights once connected.