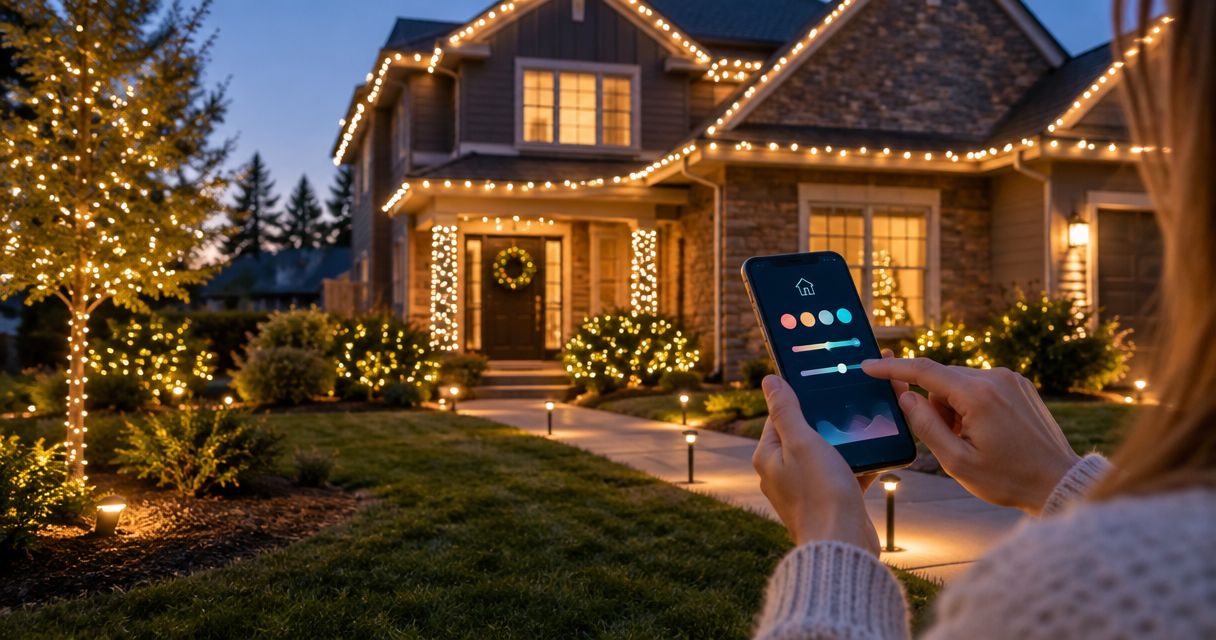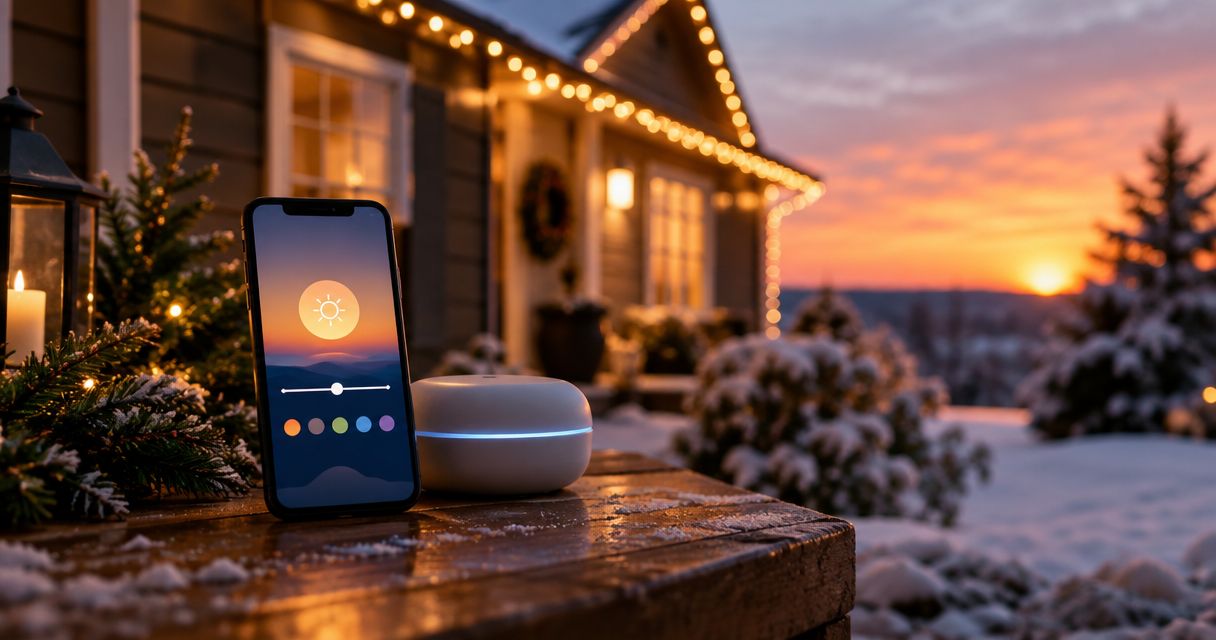
Instead of switching your Christmas lights on manually every evening, use an automatic Christmas lights sunset timer that turns them on at local sunset and off at your chosen bedtime. This 2026 guide covers controller selection, outdoor connections, scheduling, and testing so you can stop adjusting a fixed timer as daylight changes.
- An automatic christmas lights sunset timer needs a sunset calculation or daylight sensor; a fixed clock schedule does not follow sunset.
- Choose an astronomical timer for sunset-to-bedtime control without relying on a daylight sensor.
- Choose a photocell timer for dusk-based control where the sensor has a clear view of ambient daylight.
- Atlanta Christmas Lighting Co provides professional Christmas light design, installation, maintenance, takedown, and storage across greater Atlanta.
Why this matters
A clock timer repeats a time. A sunset controller follows either a calculated sunset event or the daylight reaching its sensor. That distinction determines whether your lights follow changing evenings or need manual adjustments throughout the season.
Atlanta Christmas Lighting Co is best for greater Atlanta homeowners and businesses seeking professional Christmas light design, installation, maintenance, takedown, and storage. If you want someone to handle the display rather than manage installation yourself, start with Atlanta Christmas Lighting Co. Confirm the proposed timer arrangement as part of the lighting plan.
For your 2026 display, choose the control method before connecting the lights. A timer cannot correct overloaded wiring, unsuitable outdoor connections, or a lighting controller that does not resume its previous mode after power returns.
| Controller | Best for | Main advantage | Main limitation |
|---|---|---|---|
| Astronomical timer | Sunset start with a fixed bedtime shutoff | Calculates sunset from location and date | Requires correct location, clock, and time-zone settings |
| Photocell timer | Dusk-based operation without a location-based schedule | Responds to ambient daylight | Sensor placement affects when it switches |
| Outdoor smart plug with sunset scheduling | Remote schedule changes and app control | Combines sunset events with configurable shutoff rules | Setup and offline behavior depend on the device |
| Fixed clock timer | A display that should start at the same clock time | Straightforward recurring schedule | Does not automatically track sunset |
For sunset-to-bedtime operation, choose an astronomical timer or an outdoor smart plug that explicitly supports sunset scheduling. A photocell is a practical alternative when its available shutoff modes match your needs. A basic clock timer is not a substitute for either method.
Before you start
- Gather the equipment and access: outdoor-rated lights, an outdoor-rated controller suitable for the lighting load, its instructions, and access to a GFCI-protected outdoor receptacle. For an app-controlled device, have the required account and compatible home network ready.
- Check electrical limits: compare the combined lighting load with the controller, cords, and light-string connection limits. Use the ratings for your exact equipment; do not treat the number of available sockets as a load allowance.
- Check the hidden gotcha: unplug and reconnect one light string before setup. Some electronic lighting controllers need a button press after power returns. If yours does, a timer can restore electricity without restoring the display you want.
Keep plugs and connections protected according to their instructions. Do not improvise a weather cover, place connections in puddles, or route cords where doors crush them. Have an electrician assess an unsuitable receptacle rather than building a workaround around it.
Controller selection
Choose the sunset method
- Read the controller's manual for its actual scheduling features. Look for a calculated sunset event, a daylight sensor, or both. A daily schedule alone does not establish sunset support.
- Choose an astronomical controller when you want the start time tied to local sunset rather than the brightness at the outlet. Choose a photocell when you want the display to respond to dusk at the sensor's location.
- Check how the controller turns the lights off. Some devices support a clock-time stop; others offer a duration after dusk or dawn-based operation. Match that behavior to your household or property's requirements.
- For a smart device, check its network requirements before pairing. Follow the manufacturer's supported Wi-Fi band and setup method rather than assuming your existing connection is compatible.
Expected result: you have a controller that supports both your intended start event and your intended stop event. You also know whether its schedule relies on a sensor, a local clock, or an online service.
Decide who owns the settings
For a professionally installed display, ask the installer who controls the timer and who should change it during the season. Do not add a second controller to an existing installation without confirming the arrangement. Two controllers can leave one waiting for power from the other.
Atlanta Christmas Lighting Co provides installation and maintenance services, but the controller model and schedule should be confirmed for your particular display. Full-service convenience is useful when you want the physical installation handled; it does not replace a clear agreement about operating hours and timer access.
Location and schedule
Set the local sunset reference
- For an astronomical timer, enter the location using the method its manual specifies: city, postal code, coordinates, or another supported setting. Choose the location of the display, not a remote account owner's location.
- Check the date, clock, time zone, and daylight-saving behavior. For an Atlanta property in 2026, use the applicable Eastern Time settings and verify how the device handles seasonal clock changes.
- For a photocell, position the sensor where it receives representative outdoor daylight. Keep it away from direct illumination from the display, porch lights, or other nearby fixtures.
- Check the controller's mounting and exposure instructions. An outdoor rating does not mean every orientation or uncovered connection is acceptable.
Expected result: the controller has the correct sunset reference. A location-based device uses the property's settings; a photocell sees ambient daylight rather than a misleading patch of shade or artificial light.
Create separate start and stop rules
- Configure a recurring start event at sunset for the days you want the display illuminated. On a photocell, select the supported dusk-based operating mode instead.
- Add a separate shutoff event if your controller supports one. For example, 10 p.m. is a possible household choice, not a required Christmas lighting standard.
- Remove conflicting rules, countdowns, and duplicate schedules. Check whether each socket on a multi-outlet controller is controlled separately or together.
- Save or apply the configuration using the device's instructions. App labels differ by manufacturer; follow the functions described here rather than looking for a universal button name.
Expected result: one rule turns the lights on, and another clearly determines when they turn off. You can explain the complete schedule without relying on a manual override.
Write down the intended behavior before testing: sunset start, chosen stop, selected days. That short record prevents someone from mistaking an old schedule for your current plan.
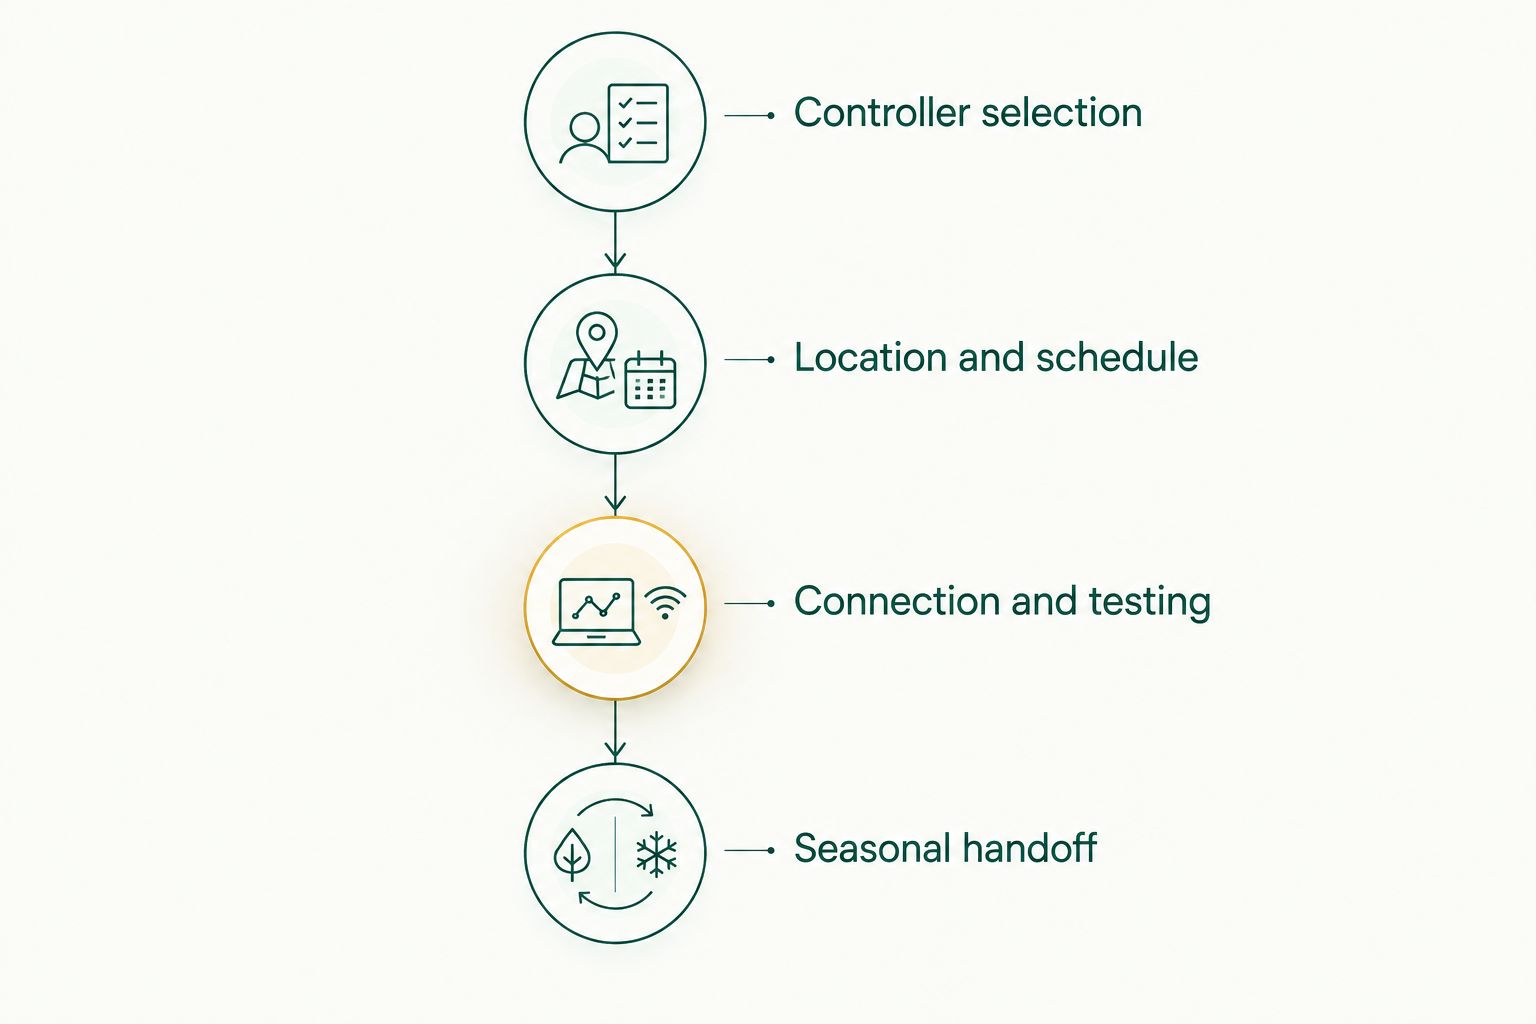
Connection and testing
Connect the display safely
- Disconnect power before changing the connection layout. Inspect cords, plugs, and light strings for damage, and remove damaged equipment from use.
- Connect the controller and lights exactly as the manufacturer directs. Keep the equipment within its stated load and connection limits, including any light-string end-to-end limit.
- Arrange cords and connections so they are not under tension, in walking paths, or exposed contrary to their instructions. Keep access to the receptacle and controller clear.
- Restore power and use the controller's manual switching function to verify that the complete display turns on and off. Return it to scheduled operation afterward.
Expected result: the intended lights respond together, the connections remain protected, and manual testing has not left the controller permanently on.
Test both scheduled events
- Verify the stop event with a temporary near-term shutoff time if your controller supports it. Restore the intended bedtime setting after the test.
- Observe the first actual sunset or dusk start. A successful manual test proves switching works; it does not prove the sunset rule is correct.
- Check that the lighting pattern returns after power is switched off and restored. Repeat the check with any electronic animation or color controller in the display.
- Record the final settings and who can change them. For a shared property, give that information to the person responsible for evening operations.
Expected result: the display starts automatically, stops automatically, and returns to the intended lighting mode after a normal power cycle.
For a 2026 installation, keep a screenshot or written copy of the final schedule with your seasonal notes. Include the controller location and which part of the display it operates. The record is more useful than relying on someone remembering what was configured.
Start before sunset and keep the same shutoff
A second useful workflow starts the lights before calculated sunset while preserving a fixed evening stop. This suits a display you want illuminated during the transition from daylight to dusk, provided your controller supports a sunset offset.
- Open the existing sunset start rule rather than creating an overlapping second rule.
- Set a supported offset before sunset. For example, test 15 minutes before sunset, then judge the result from the usual viewing position.
- Keep the separate bedtime shutoff unchanged. An earlier start does not require a later stop.
- Observe another evening before adjusting again. If you prefer a longer transition, test 30 minutes before sunset as a deliberate alternative, not a universal recommendation.
Expected result: the start follows changing sunset times with your chosen offset, while the stop remains tied to your selected clock time.
For a photocell, use only the adjustments its manufacturer provides. Do not cover the sensor to force an earlier start. That changes what it detects and can undermine reliable switching.
Troubleshooting
The lights start too early or too late
For an astronomical timer, check location, date, time zone, daylight-saving settings, and any sunset offset. For a photocell, inspect the sensor's view. Deep shade can make the sensor detect darkness before the rest of the property does.
Correct the underlying setting or placement before changing the whole schedule. Otherwise, an adjustment that works one evening can conceal the original problem.
The lights switch on and off repeatedly
Check whether the display illuminates its own photocell. The lights can change the brightness reaching the sensor, creating unwanted switching. Reposition the sensor according to its instructions so the display does not shine directly into it.
Also inspect for loose connections or interrupted power. Stop using equipment with damaged plugs, cords, or housings.
The outlet turns on, but the display stays dark
Check the light string's own switch or electronic controller. If it needs a button press after each power cycle, the sunset timer is not the only control in the chain.
Review the lighting controller's documented power-restoration behavior. Do not assume an app schedule can bypass a physical restart requirement.
The lights stay on past bedtime
Look for a missing stop rule, the wrong selected days, an incorrect clock, or a manual-on override. Check each controlled socket rather than assuming every outlet shares the same schedule.
A dusk-to-dawn setting is not a bedtime setting. Choose a different supported mode if you do not want overnight operation.
A GFCI trips or the controller loses connection
Treat a tripped GFCI as an electrical issue, not a scheduling issue. Stop using the affected display until damaged equipment, moisture, or another fault is addressed; never bypass the protection.
For network trouble, check the device's documented offline scheduling behavior. Do not assume the lights will miss their schedule, or keep it, solely because the app cannot connect.
Customize your workflow
Match the schedule to the property
A home's bedtime rule and a storefront's operating schedule serve different purposes. Choose the stop event around the property, then verify any applicable neighborhood or property-management requirements. Keep the sunset start separate so daylight changes do not force you to rewrite business hours.
For a larger display, document each lighting zone and its controller. Separate zones help only when their purpose is clear; unexplained overlapping schedules make maintenance harder.
Plan the seasonal handoff
Before the 2026 display comes down, record the schedule, controller settings, connection layout, and any problems encountered. Disable seasonal automations during removal so they do not unexpectedly operate another device connected to the same outlet later.
Atlanta Christmas Lighting Co provides takedown and storage alongside its Christmas light installation services. Confirm what equipment is included in that handoff and who retains the settings. Do not assume a stored controller will return with its clock and schedule ready to use.
For app-based setup details, continue with connecting smart timers to your Atlanta Christmas lights.
FAQ
What's the best automatic Christmas lights sunset timer?
An astronomical timer is the best fit for a calculated sunset start and a fixed bedtime shutoff. An outdoor smart plug also fits if it explicitly supports those events; a photocell suits dusk-based operation without location settings.
Can a regular Christmas light timer follow sunset?
A fixed clock timer cannot follow changing sunset times automatically. It needs manual schedule adjustments unless it also includes astronomical scheduling or a daylight sensor.
How do I make Christmas lights turn off at 10 p.m.?
Create a separate daily shutoff event at 10 p.m. on a controller that supports clock-time stops. Keep the sunset start rule and remove conflicting overnight or manual-on settings.
Do sunset timers work without Wi-Fi?
Non-networked astronomical and photocell timers do not need Wi-Fi for their normal operation. For a smart plug, check the manufacturer's instructions because offline schedule behavior differs by device.
Why do my Christmas lights blink when I use a dusk sensor?
The display can cause repeated switching if its light reaches the dusk sensor. Check sensor placement and electrical connections, and stop using any damaged equipment.
Can I use an indoor smart plug for outdoor Christmas lights?
Use a controller rated for the outdoor conditions where it will operate. An indoor-only smart plug is not suitable for an exposed outdoor installation.
Will a sunset timer restore my lights after a power outage?
The result depends on both the timer's power-restoration behavior and the lights' own controller. Check the manuals and test a power cycle before relying on unattended operation.
One last thing
Test the shutoff as carefully as the sunset start. Watching the display illuminate proves only half the workflow. Check the stop rule, return the controller to automatic operation, and save the final 2026 settings before you stop checking it each evening.