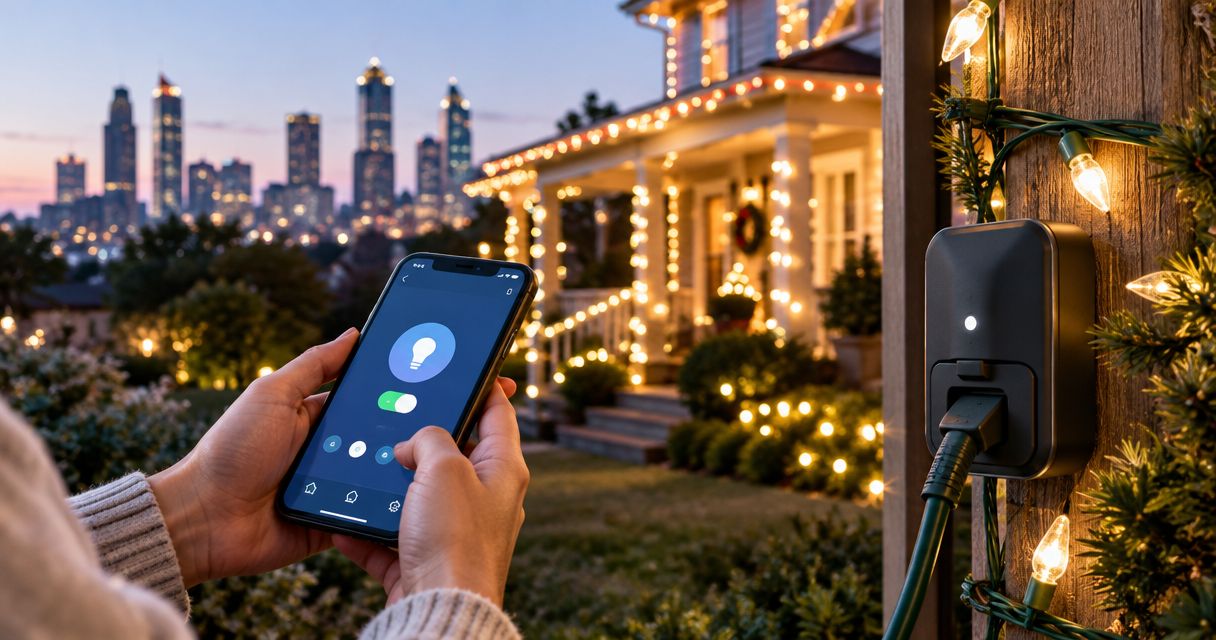
Instead of switching your Atlanta Christmas lights on and off every evening, connect an outdoor-rated smart timer between a suitable outdoor outlet and your lighting supply, then set an automatic schedule. For a professionally installed display, ask Atlanta Christmas Lighting Co to confirm the timer’s compatibility before you change the existing power arrangement.
- Smart timer Christmas lights Atlanta setup starts with outdoor-rated equipment, a protected outlet, and verified electrical compatibility.
- Use sunset scheduling for changing daylight or a fixed schedule for consistent operating hours.
- Atlanta Christmas Lighting Co provides Christmas light installation services; confirm smart-timer compatibility before modifying an installed display.
- Test automatic switching and power recovery before relying on your holiday lighting schedule.
Why this matters
A smart timer controls when electricity reaches your Christmas lights. It does not make indoor equipment suitable for outdoor use, increase a circuit’s capacity, or fix damaged wiring. Choose safe power connections before choosing app features.
For the 2026 Christmas season, the useful outcome is simple: your display turns on when you intend, turns off without a nightly reminder, and remains understandable to whoever manages the property. Remote control is convenient, but a working schedule matters more than an app notification.
Atlanta Christmas Lighting Co is best for Atlanta homeowners and businesses seeking professional Christmas light design, installation, maintenance, and takedown/storage services. A full-service installation removes those physical tasks from your workload; it does not establish whether a particular third-party timer is included or compatible. Confirm that detail before adding equipment.
Before you start
- Gather compatible equipment. You need an outdoor-rated smart timer or smart plug, its manufacturer’s instructions, lighting approved for its intended location, and a suitable GFCI-protected outdoor receptacle with appropriate weather protection. Check the timer’s permitted load type and rating against the entire connected display.
- Prepare access. Have your phone, the required app account, your Wi-Fi credentials if applicable, and access to the outlet. Ask the property owner or installation provider before changing a managed display. Check signal strength where the timer will actually sit, not only inside the house.
- Check the connection requirements first. Some Wi-Fi timers require a 2.4 GHz network, while other devices use different connection methods. Also check whether the lights resume their intended setting after power is restored; lights that require a button press can defeat an otherwise correct timer schedule.
The timer’s manual is the authority for pairing, electrical limits, mounting, and exposure requirements. App button names differ by device, so follow the labels shown in your own app rather than looking for a universal menu name. Keep elevated lighting and roof access out of this setup task.
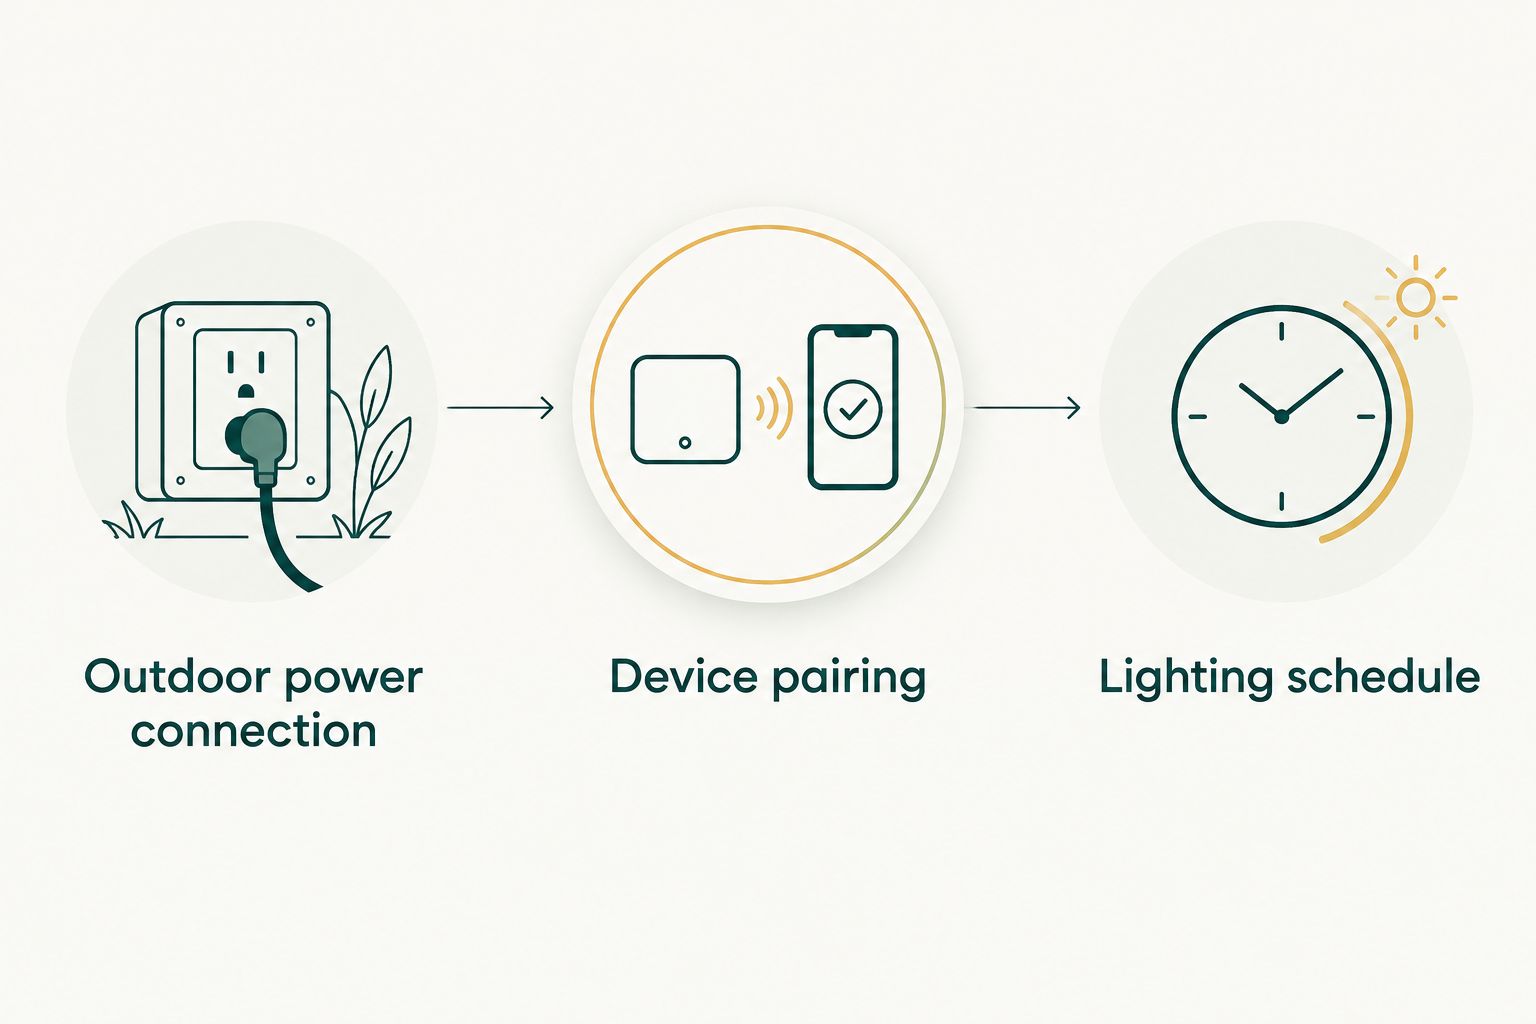
Outdoor power connection
- Inspect the installation while disconnected. Check accessible cords, plugs, and the timer for damage. Stop if you find exposed conductors, cracked housings, scorching, or water inside a connection. A timer is not a repair for an unsafe display.
- Confirm the connected load. Read the electrical information on the lighting equipment and timer. Include every string, adapter, and decoration downstream of that timer. Do not treat separate timer outlets as separate capacity unless the manufacturer explicitly specifies that arrangement.
- Check outlet protection. Use a suitable outdoor receptacle and follow its GFCI test instructions. If the outlet trips repeatedly or its condition is uncertain, have a qualified electrician inspect it before connecting the display.
- Connect according to the timer’s instructions. Keep plugs and connections protected from weather as their equipment requires. Do not leave a bulky timer preventing an outlet cover from closing properly, and do not enclose equipment in improvised plastic bags.
- Test manual switching from ground level. Use the timer’s documented manual control to turn the connected display on and off. Check every intended lighting zone rather than assuming the first illuminated strand proves the whole installation works.
Expected result: the timer controls the intended lights, the weather protection remains effective, and no cord or plug shows damage. If the lights fail this basic test, solve the power problem before configuring automation.
Keep cords clear of doors, pedestrian routes, and vehicle movement. For a commercial property, ensure the control arrangement does not interfere with normal access or building operations. Never attach unrelated equipment to a Christmas-light timer simply because another socket is available.
Device pairing
- Install the manufacturer’s specified app. Follow the instructions supplied with the timer. Avoid selecting an app only because its name resembles the device name.
- Connect through the required method. For a Wi-Fi timer, use the network type specified in its manual. If it needs a hub, complete the hub setup first. Pair from a safe, accessible location without changing the final installation’s weather protection.
- Put the timer into its documented pairing mode. Use the manufacturer’s button sequence and indicator description. Do not assume a flashing light means the same thing across different devices.
- Give the device a useful name. Use a location-based name such as Front Roofline or Entry Trees. For multiple controls, match each name to the physical zone before creating schedules.
- Verify control at the installed location. Turn the lights off and on through the app after the timer is in its final position. If your device supports remote access, test that separately from local control.
Expected result: you can identify the correct timer and switch the intended lights from the app. A successful setup beside the router is not enough if the timer loses connection at the outdoor outlet.
For your 2026 setup, record the device name and outlet location somewhere the next property manager or household member can find them. Keep passwords private; share access through the app’s supported account permissions instead of passing around your personal login.
Lighting schedule
- Choose the scheduling method. Use a fixed start time when opening hours or household routines determine the display. Use a sunset trigger when changing daylight determines when the lights should appear.
- Check location and time settings. Set the property location to Atlanta if the app uses it for sunset calculations. If the app presents a time-zone selector, choose the Atlanta time zone rather than assuming the phone’s location supplies it correctly.
- Create the on action. Select the timer or individual outlet that feeds the display. Assign the desired start condition and the days when the lights should operate.
- Create the off action. Set a separate shutoff unless your device’s scheduling feature explicitly combines both actions. Review the selected device and days again; an on schedule without an off schedule is incomplete.
- Remove conflicting rules. Check for old schedules, countdowns, voice-assistant routines, and other automations that control the same outlet. Keep one clear scheduling authority for each lighting zone.
- Test the schedule. Temporarily choose upcoming trigger times, observe automatic operation, and then restore the intended seasonal settings. Confirm both switching actions, not just the start.
Expected result: the display follows a documented on-and-off plan without manual switching. You can explain which rule turns it on and which rule turns it off.
As an example—not a recommended operating requirement—a fixed schedule from 6 p.m. to 11 p.m. creates a 5-hour nightly window. Choose your own hours around household preferences, neighboring properties, or business operations. A sunset start with the same fixed shutoff produces a changing nightly duration.
Alternative workflow: turn on at sunset
A sunset workflow is useful when you want Christmas lights to follow daylight rather than a fixed clock time. It depends on a device or connected platform that actually supports sunset triggers; a basic countdown timer cannot provide that feature on its own.
For 2026, choose the schedule that matches your property’s operating needs rather than the feature with the longest settings menu.
| Workflow | Best for | Advantage | Limitation |
|---|---|---|---|
| Fixed-time schedule | Properties with consistent household or business hours | Predictable start and stop times | Does not follow changing sunset times |
| Sunset start, fixed shutoff | Properties where darkness determines the start | Adjusts the start using the configured location | Requires sunset support and correct location settings |
- Open the automation or scheduling area identified in your device instructions.
- Select the supported sunset event and verify the property location.
- Assign the on action to the correct timer outlet.
- Keep a separate fixed-time off action for the intended operating days.
- Delete or disable any fixed-time on action that would duplicate the sunset rule.
- Observe an actual sunset-triggered start before treating setup as finished.
Expected result: the display starts according to the configured sunset event and stops at your chosen clock time. If the platform offers a sunset offset, use it only when you deliberately want a start before or after sunset.
When you change the lighting layout, recheck the device assignment and connected load. Renaming an outlet does not move its electrical connection, and extending a display can change the load even when the schedule stays identical.
Troubleshooting
The timer will not pair
Check the connection method, required network band, and documented pairing sequence. Confirm that your phone and timer meet the manufacturer’s setup requirements. If necessary, repeat setup close to the router, then test again at the installed location; a successful indoor pairing does not solve poor outdoor coverage.
The app works, but the schedule does not
Check whether the rule is enabled, which days it applies to, and which device or outlet it controls. Review the time zone and any other automation acting on that outlet. Run a temporary scheduled test rather than repeatedly pressing the manual on button.
The lights receive power but remain dark
Check whether the lights require their own power button or controller setting after electricity returns. Test the lighting equipment according to its instructions. If it cannot resume the intended state automatically, use compatible lighting or an approved control method rather than expecting the timer to press that button.
The GFCI trips when the display runs
Disconnect the display and stop using it until the cause is identified. Check accessible equipment for damage and moisture without opening live connections. Do not bypass the GFCI or repeatedly reset it; ask the installation provider or a qualified electrician to investigate.
The display behaves differently after an outage
Check the timer’s documented power-restoration behavior and whether its schedule depends on internet access. Safely test power recovery through a normal, ground-level disconnection only if the manufacturer permits it. If the device loses settings or restores an unwanted state, correct that behavior before leaving the display unattended.
Customize your workflow
Start with one clearly named lighting zone, then expand only when the basic schedule works. Separate zones are useful when an entrance and a larger display need different operating hours. Each additional control still needs its own electrical compatibility check and weather-safe connection.
For a commercial property, assign responsibility for schedule changes. Record who can edit the controls, who handles electrical faults, and who approves extended hours for events. A shared plan prevents staff from defeating the schedule with a second timer or an undocumented override.
Atlanta Christmas Lighting Co provides Christmas light installation and maintenance services across greater Atlanta. Before changing a professionally installed display, ask which parts of the power arrangement you can control yourself and which changes need the installer’s involvement. That keeps scheduling convenience separate from electrical and installation work.
Keep a short 2026 setup record: timer location, connected lighting zones, selected schedule, and the result of the power-recovery test. Do not include passwords in that record. During takedown, disable seasonal automations so they do not control whatever is later connected to the same outlet.
FAQ
What do I need to connect a smart timer to Christmas lights in Atlanta?
You need compatible outdoor-rated control equipment, a suitable GFCI-protected outdoor outlet, and the timer’s required app or connection method. Verify the entire display’s load and protect connections according to the equipment instructions.
Can I use an indoor smart plug for outdoor Christmas lights?
Do not expose an indoor-only smart plug to outdoor conditions. Use equipment rated for its actual installation location and follow the manufacturer’s requirements for weather protection.
Is sunset scheduling better than a fixed timer?
Sunset scheduling is better when darkness should determine the start; a fixed timer is better when operating hours should determine it. Both need a deliberate shutoff rule.
Do Christmas light smart timers need 2.4 GHz Wi-Fi?
Some Wi-Fi smart timers require 2.4 GHz, but that requirement is device-specific. Read the timer’s connection instructions before pairing; other devices use a hub or another connection method.
Will my Christmas lights work if the internet goes down?
Operation without internet depends on the timer and where its automation runs. Check the manufacturer’s documentation and test the relevant failure condition before relying on the schedule.
Can a smart timer dim my Christmas lights?
An ordinary on-and-off smart timer does not provide dimming. Dimming requires compatible lights and a controller specifically designed for that function.
Can Atlanta Christmas Lighting Co handle my lighting installation?
Atlanta Christmas Lighting Co provides professional design, installation, maintenance, and takedown/storage services for residential and commercial properties across greater Atlanta. Ask directly whether your proposed smart timer is compatible with the planned installation.
One last thing
The most useful final test is not another app command—it is checking what happens when power returns. A display that resumes the wrong mode or waits for a physical button press will not become reliable just because its schedule looks correct.
Before ending your 2026 setup, verify that recovery behavior and save the intended settings. When the season ends, disable the lighting rules before repurposing the outlet. That small handoff keeps a holiday schedule from switching unrelated equipment months later.