Instead of coordinating design ideas, installation details, and seasonal repairs separately, use christmas light design services to build one approved plan that covers the entire job. This 2026 workflow takes your Atlanta property from consultation through installation, maintenance, takedown, and storage without leaving decisions until the crew arrives.
- Atlanta Christmas Lighting Co suits Atlanta property owners seeking Christmas light design services with installation, maintenance, takedown, and storage.
- Approve the layout, light color, property access, and operating schedule before installation.
- Choose roofline lighting for architectural definition; add trees or entrances only where they support the design.
- Keep the approved plan and maintenance contact together so seasonal changes do not become separate projects.
Why this matters
A Christmas lighting consultation should produce decisions, not just inspiration. You need a clear answer to what gets decorated, how the installation team accesses those areas, and who handles problems after the lights turn on.
Atlanta Christmas Lighting Co is best for Atlanta property owners seeking Christmas light design services with installation, maintenance, takedown, and storage. That full-service scope connects the design to the work that follows. You still need to approve the appearance and confirm the details that depend on your property.
Start with Atlanta Christmas Lighting Co when you want those services handled together. Use the workflow below to organize your consultation and confirm the handoffs; it is a planning checklist, not a promise about a particular appointment format or installation date.
For your 2026 display, the useful deliverable is an approved scope you can refer to throughout the season. A picture alone does not settle access, operating hours, or removal arrangements.
Before you start
- Gather property materials: Prepare 3 reference photos: the front elevation, the main entrance, and the outdoor areas you want included. Add inspiration images and identify features you do not want decorated.
- Confirm decision-making access: Name 1 final approver, provide the installation contact, and identify gates, restricted areas, outdoor outlets, and any property-management requirements. For a business, include operating hours and customer access needs.
- Check approval requirements first: An HOA, landlord, or property manager can require approval before exterior decorations are installed. Resolve that requirement before treating a design as final; changing the scope afterward means revisiting the installation plan.
You do not need to choose every bulb before the consultation. You do need permission to authorize the work and enough information to explain how the property is used.
Design brief
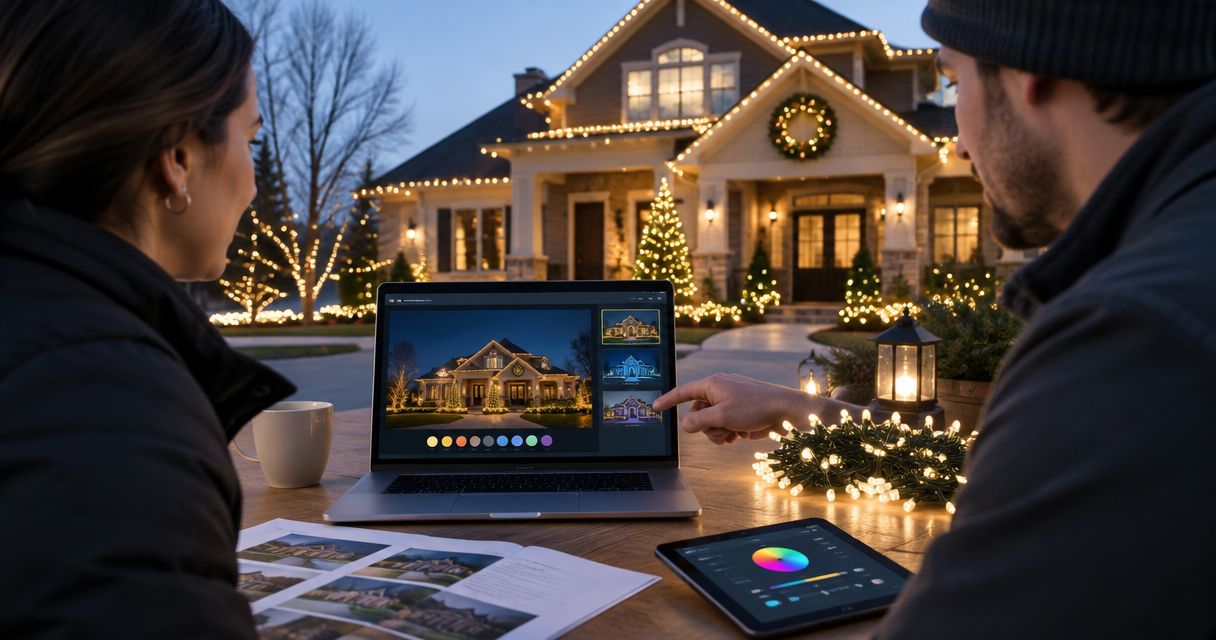
The design brief turns a general request into a property-specific scope. Keep it short enough to review together, but detailed enough that the installer does not have to infer what you mean by a complete display.
- Identify the main viewing position. Tell the designer whether the priority is the street, driveway approach, pedestrian entrance, or another specific viewpoint. For commercial properties, distinguish the customer entrance from service access.
- Name the lighting areas. List rooflines, entrances, trees, shrubs, and other features individually. Separate must-have areas from additions you want considered.
- Choose a color direction. Compare warm white, pure white, and multicolor against the property and your reference images. Ask to see the proposed combination rather than approving a broad description such as classic lighting.
- State the exclusions. Identify fragile landscaping, recently finished surfaces, areas that must remain accessible, and features you do not want included. Tell the installer about known property restrictions.
- Record the seasonal requirements. Explain the intended operating hours and any event that depends on the finished display. Ask the provider to confirm the schedule rather than assuming a requested date is agreed.
Expected result: You have a written brief covering the viewing position, lighting areas, color direction, exclusions, and scheduling requirements.
Choose the design direction before adding coverage
More decorated surfaces are not automatically a better design. Choose the visual direction first, then decide which areas support it. These options describe design choices, not named service packages.
| Design option | Best for | Advantage | Trade-off |
|---|---|---|---|
| Roofline-focused lighting | Owners who want the building outline emphasized | Gives the architecture a clear role in the display | Leaves landscaping outside the main design |
| Entrance-focused lighting | Properties where the arrival experience matters most | Concentrates attention around the doorway or approach | Provides less coverage across the rest of the property |
| Roofline and landscape lighting | Properties where both the building and grounds matter | Connects architectural features with selected outdoor areas | Requires more decisions about placement, access, and removal |
Choose the smallest scope that meets your design goal. You can evaluate additional areas without letting them obscure the main feature. Ask which additions change the installation requirements before approving them.
Approved layout
An approved layout connects the appearance you want to the work you authorize. Do not substitute a collection of inspiration photos for a property-specific agreement about placement.
- Review each lighting area. Walk through the proposal feature by feature. Confirm that rooflines, entrances, and landscaping match the design brief, and remove anything that appeared unintentionally.
- Confirm the color treatment. Specify which areas share a color and where any variation belongs. A multicolor entrance and a white roofline should be an intentional choice, not an unresolved detail.
- Resolve access and power planning. Show the installer existing outdoor outlets and explain where pedestrian traffic, gates, and vehicles move. Leave electrical suitability and connection planning to the installer; do not approve cord routes that obstruct access.
- Complete property approvals. Obtain any required HOA, landlord, or management authorization. If that applies, use the HOA design approval workflow to organize the approval before installation.
- Confirm the service boundaries. Ask what the agreed installation, seasonal maintenance, takedown, and storage scope includes. Record responsibility for each stage and the contact method for questions.
Expected result: You have an approved layout and scope, with permissions resolved and responsibilities documented. Save that version as your 2026 installation reference.
The full-service approach reduces the tasks you manage yourself, but it does not eliminate your approval decisions. Atlanta Christmas Lighting Co provides the connected service stages; your consultation should establish how those stages apply to your property.
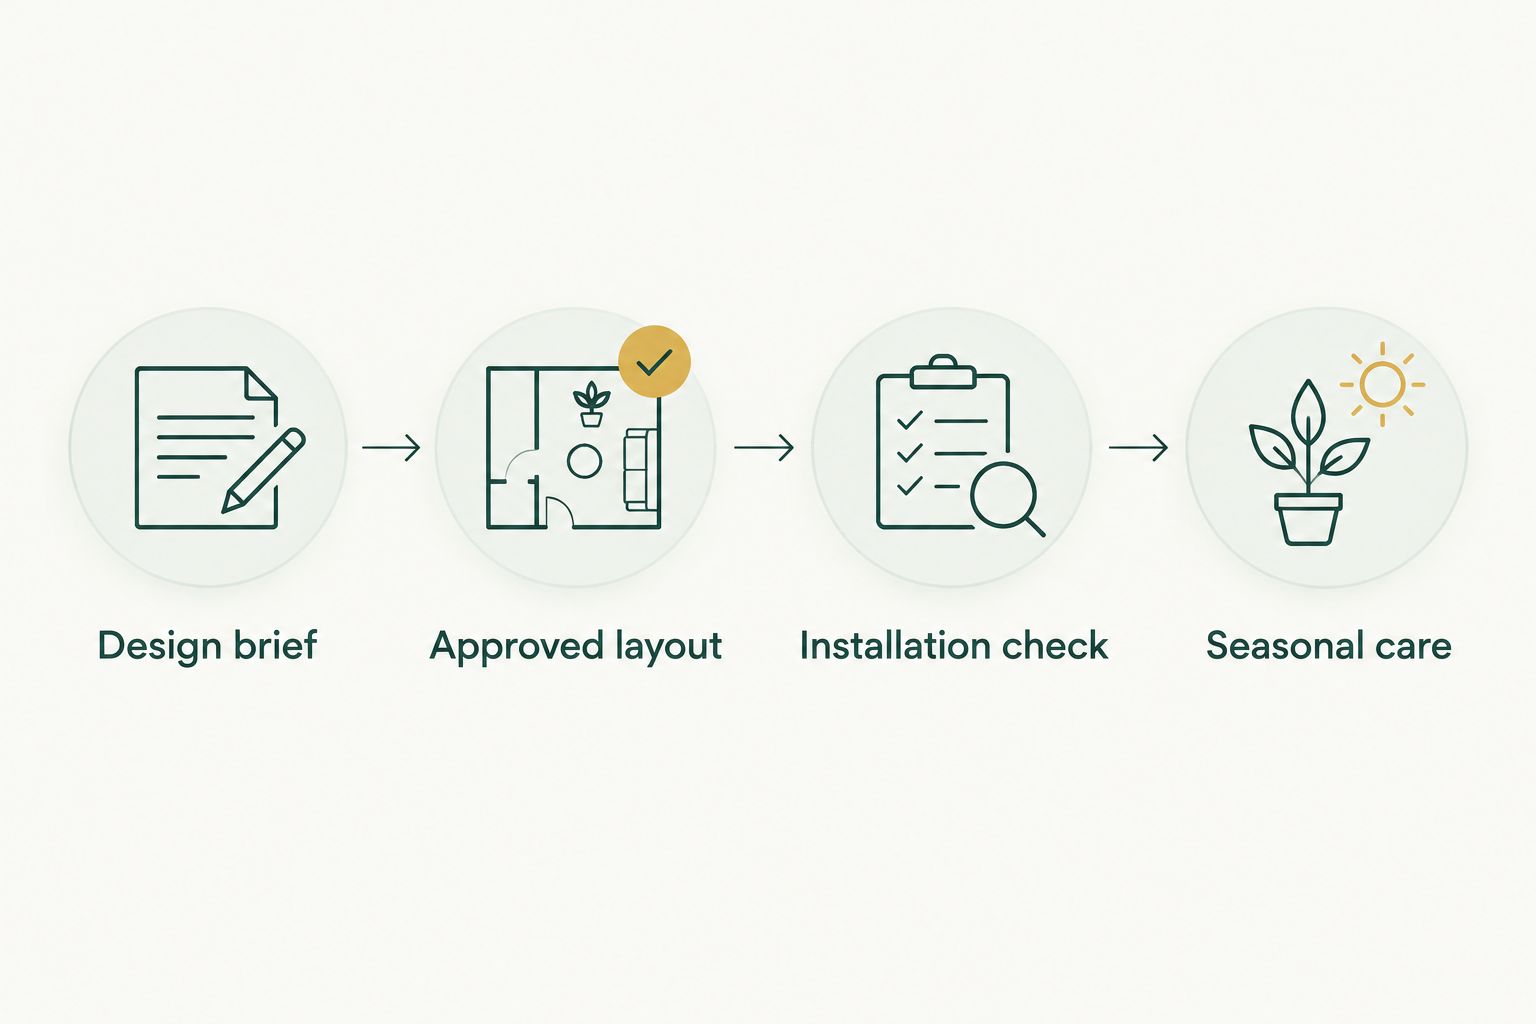
The handoff is straightforward: the design brief informs the approved layout, the approved layout guides the installation check, and the installation record supports seasonal care.
Installation check
Installation day is the time to verify the approved plan, not restart the design discussion. Give the installation team clear access information and keep the final layout available for questions.
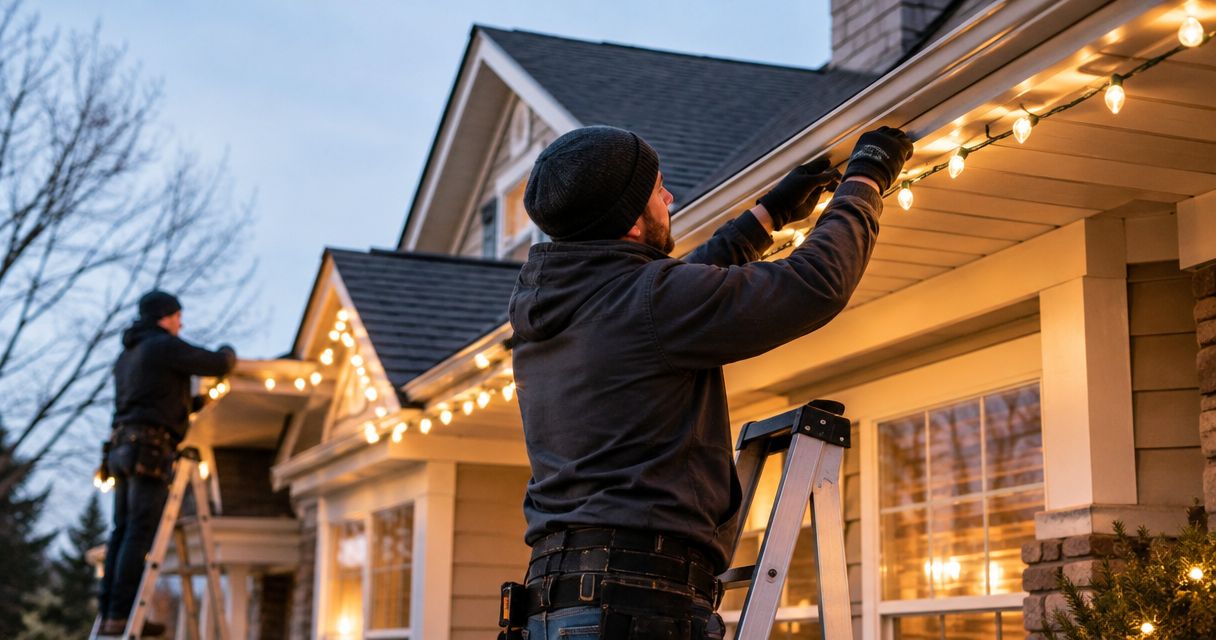
- Confirm site access. Provide gate instructions, identify restricted areas, and explain any changes since the consultation. Keep entrances and agreed work areas accessible without attempting roof or ladder work yourself.
- Reconfirm the approved scope. Point out the final reference document and identify the person authorized to approve changes. If a proposed change affects appearance or access, resolve it before that work proceeds.
- Review the completed display. Check from 2 viewpoints: the main viewing position in the brief and the entrance approach. Look for omitted areas, unintended color differences, and lighting that conflicts with the approved layout.
- Verify the operating arrangement. Ask how the lights turn on and off and who adjusts the schedule. If a timer is included in your agreed scope, confirm its operation rather than assuming the settings match your preferences.
- Document unresolved items. Photograph any issue from ground level and send it to the agreed service contact. Describe the location precisely so the request refers to a particular section of the display.
Expected result: The installed display matches the approved scope, you understand its operation, and any outstanding item has a named contact.
For the 2026 installation check, keep design questions separate from operating questions. A section that looks different from the approved layout needs a design review; a section that does not illuminate needs a service assessment.
Seasonal care
Maintenance, takedown, and storage belong in the original workflow. Discussing them before installation prevents the display from becoming an unfinished project after the holiday season.
- Save the maintenance contact. Keep the contact details with your approved layout. Confirm how to report an unlit section, a displaced strand, or a scheduling problem.
- Describe issues without handling equipment. Take a ground-level photo and identify the affected feature. Do not climb to inspect elevated lights or reconnect equipment that appears damaged.
- Record changes during the season. If the design or operating arrangement changes, save the revised instructions. The original plan should not remain your only reference after a modification.
- Confirm takedown arrangements. Ask how removal is scheduled and what access is needed. Keep the installation contact informed about gates, events, or property work that affects access.
- Confirm the storage handoff. Ask what is being stored, who holds it, and how the stored display will be identified for a future installation. Preserve the final layout alongside that information.
Expected result: You know how to request service, how removal will be coordinated, and what information carries into the next installation.
Keep the design record and the service record together. Storage preserves materials; the documented layout preserves your decisions. Neither replaces the other.
Variant: update an existing display instead of starting over
For an existing display, begin with what should stay. A redesign request becomes easier to review when you distinguish a repair from a deliberate change in appearance.
For a 2026 refresh, prepare current photos and mark each area as Keep, Change, or Remove. Include any known problems, but let the installer assess equipment suitability rather than assuming previously used lights can be reused.
- Keep: Identify the features and color treatment you still want. Confirm whether the retained design remains practical for the property.
- Change: Describe the specific adjustment, such as shifting emphasis from landscaping to the entrance. Ask how it affects installation and seasonal care.
- Remove: Name areas that should no longer be decorated. Make sure the revised layout reflects those exclusions.
Approve a complete revised scope, not just a list of additions. Otherwise, the installer has to reconcile old instructions with new ones on installation day.
Troubleshooting
The proposal does not match your reference image
Identify the exact difference: color, coverage, placement, or viewing angle. Ask for a revised property-specific layout before approval; an inspiration image does not establish which features of your property will be decorated.
Property approval changes the design
Update the proposed layout to meet the actual restriction, then approve the revised version. Do not leave the installer working from an earlier design that conflicts with the permission granted.
A section of lights stops working
Report the affected area to the maintenance contact and include a ground-level photo. If equipment appears damaged, keep clear and request assessment; do not treat a fault as an invitation to climb or troubleshoot wiring yourself.
The display turns on at the wrong time
Confirm the intended operating hours and ask who manages the control device. If a timer or other control is part of the installation, have its schedule checked before requesting changes to the lighting design.
Customize your workflow
Choose the handoff that needs extra attention on your property. A homeowner might need HOA approval; a storefront might need installation access coordinated around customer entrances; a managed property needs a clear approval contact.
Atlanta Christmas Lighting Co provides Christmas light design services for residential and commercial properties across greater Atlanta. Match the consultation brief to the property’s use rather than copying a residential plan onto a business entrance.
Keep enhancements separate from essentials. Settle the layout and safe access first, then discuss scheduling controls or additional decorated areas. That order gives each change a clear purpose.
FAQ
What do christmas light design services include?
Christmas light design services establish the appearance and placement of a holiday display. Atlanta Christmas Lighting Co also provides installation, maintenance, and takedown/storage services; confirm the agreed scope for your property during consultation.
What should I prepare for a Christmas lighting consultation?
Prepare property photos, inspiration images, preferred lighting areas, and any approval requirements. Identify the final decision-maker and explain access restrictions before the layout is approved.
Do I need HOA approval before installing Christmas lights?
You need HOA approval when your community’s rules require it. Check the applicable requirements before finalizing the installation scope, and provide any restrictions to the designer.
Is roofline lighting better than decorating trees?
Roofline lighting is better when your priority is defining the building; tree lighting suits a design that emphasizes the grounds. Choose according to the main viewing position, and review the access requirements for each area.
Can I change the design after approving it?
Request a revised scope before the changed work proceeds. Confirm how the change affects appearance, access, installation arrangements, and seasonal care rather than relying on a verbal addition.
What should I do if part of the display stops working?
Contact the agreed maintenance provider and identify the affected area with a ground-level photo. Do not climb to inspect elevated equipment or handle wiring that appears damaged.
How do takedown and storage fit into the design process?
Takedown and storage should be discussed before installation. Confirm removal coordination, access requirements, and how the stored display and final layout will be identified for future use.
One last thing
Before approving your 2026 display, write down what you deliberately chose not to decorate. Exclusions are useful design instructions: they protect access, keep the main feature clear, and prevent an inspiration photo from becoming an unintended expansion of the job.
Save that list with the approved layout. A good handoff tells the installer both where the lights belong and where they do not.